Dreaming of Bali’s peaceful rice terraces, Ubud’s active culture, or the unspoiled beaches of the Gili Islands? Indonesia is a heaven that beckons travellers, and for Indian passport holders, it has become much easier to get there. No more going to the embassy and waiting anxiously. Today, the wonder of Indonesia is just a click away, thanks to the e-Visa facility.

Don’t stress. I’ve been through the process myself as another traveler, and I’m here to take you through it. With this guide, I’ll walk you step-by-step through how to apply for your Indonesia e-Visa from India, so you can spend less time stressing about paperwork and more time preparing for your travels.
What is Indonesian eVisa?
The Indonesian e-Visa is a government-run online visa application system. It enables travelers from qualified nations (yes, including India!) to apply for and obtain their visa electronically prior to departing home.

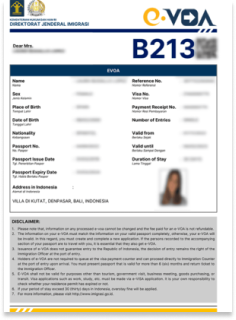
The most well-liked choice under this scheme is the e-VOA (Electronic Visa on Arrival). Imagine it as your virtual ticket to bypass the payment line at the airport. You enjoy the same 30-day visa, but you have already filled out the application and paid beforehand, so arriving in Jakarta, Bali, or other foreign airports is significantly easier.
Is Indonesia Visa-Free for Indians?
Let’s clear this up right away, as it’s a common point of confusion. No, Indonesia is not visa-free for Indian passport holders.

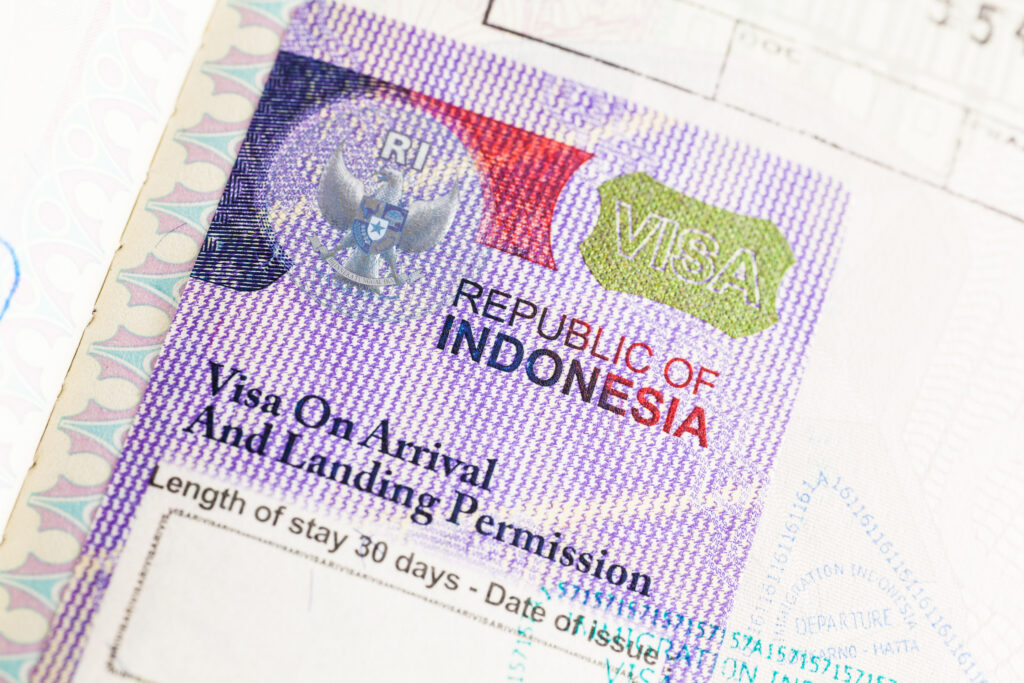
However, India is one of the countries eligible for the Visa on Arrival (VOA) program. This means you can get your visa upon landing in Indonesia. The e-VOA is simply the online, pre-paid version of this. By getting the e-VOA, you are essentially pre-paying for your Visa on Arrival and securing it online, which is highly recommended for a hassle-free entry.
Which Indonesia eVisa Do You Need? (e-VOA vs. 211A Visit Visa)
This is the most important question, and the answer depends on your trip’s length.
- Electronic Visa on Arrival (e-VOA):
- Best for: Most tourists.
- Stay: 30 days.
- Extendable: Yes, it can be extended once for an additional 30 days (total 60 days). You must apply for this extension online or at an immigration office within Indonesia.
- Purpose: Tourism, family visits, transit.
- 211A Tourist Visit Visa (e-Visa):
- Best for: Travellers who want a longer initial stay.
- Stay: 60 days.
- Extendable: Yes, this visa can also be extended within Indonesia.
- Purpose: Tourism or social visits.
For most holiday-goers planning a two or three-week trip, the e-VOA is the perfect and most straightforward choice.
Indonesia e-Visa Document Requirement: What you need to Apply
Preparation is key for a smooth application. Get these Indonesia e-Visa Document Requirement or scanned and ready on your computer:

- Passport Bio-Page: A clear, colour scan of the main page of your passport (the one with your photo and details).
- Passport Validity: Your passport must be valid for at least six (6) months from your date of arrival in Indonesia. This is non-negotiable.
- Recent Photograph: A digital, passport-style photo (4×6 cm) with a plain white background.
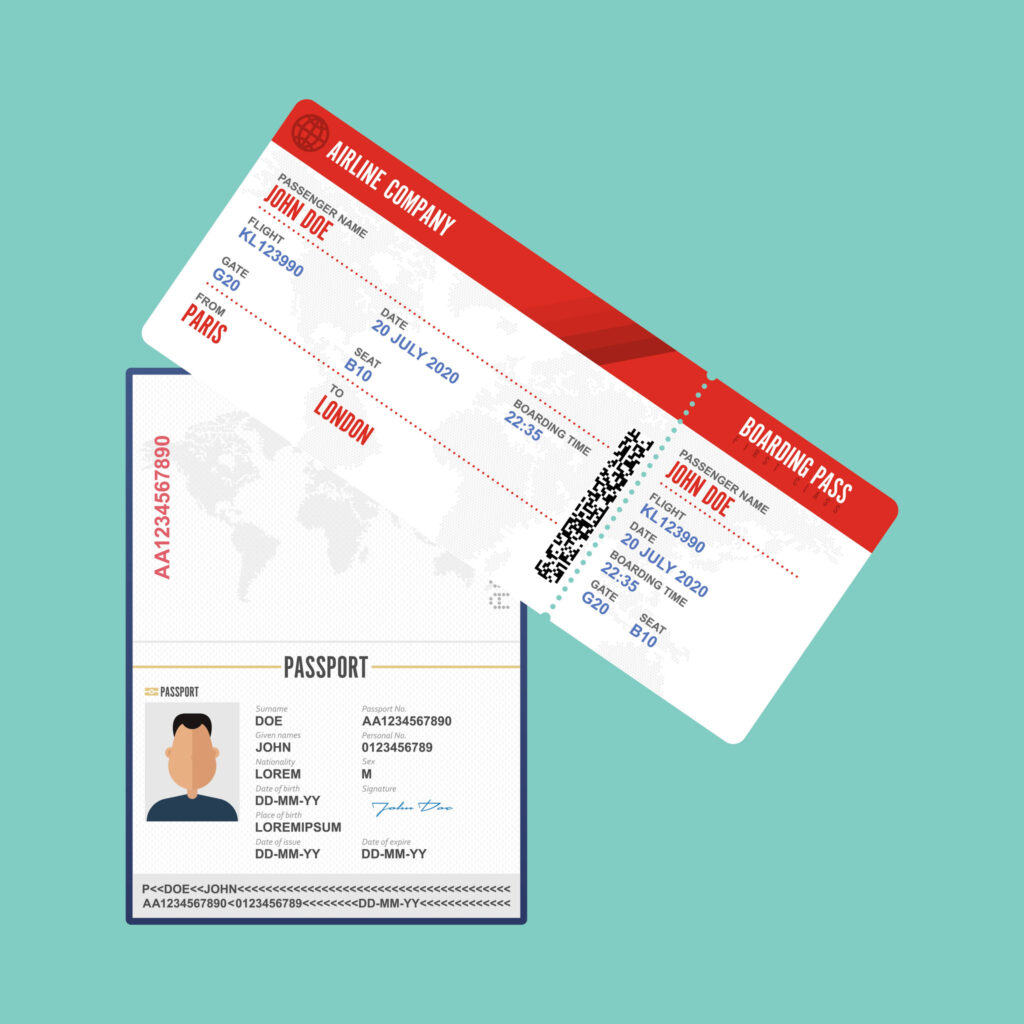
- Return Flight Ticket: Proof of your flight out of Indonesia. This can be a return ticket to India or an onward ticket to another country.
- Proof of Accommodation: A booking confirmation for your first few nights at a hotel or villa.
- Sufficient Funds: While not always asked for with the e-VOA, it’s wise to have a recent bank statement (showing at least USD 2,000 or equivalent). This is more frequently required for the 60-day 211A visa.
- Payment Card: A valid Visa, Mastercard, or JCB credit or debit card for the online payment.
How to Apply for Indonesia eVisa from India
Ready? Let’s walk through the Indonesia eVisa application.

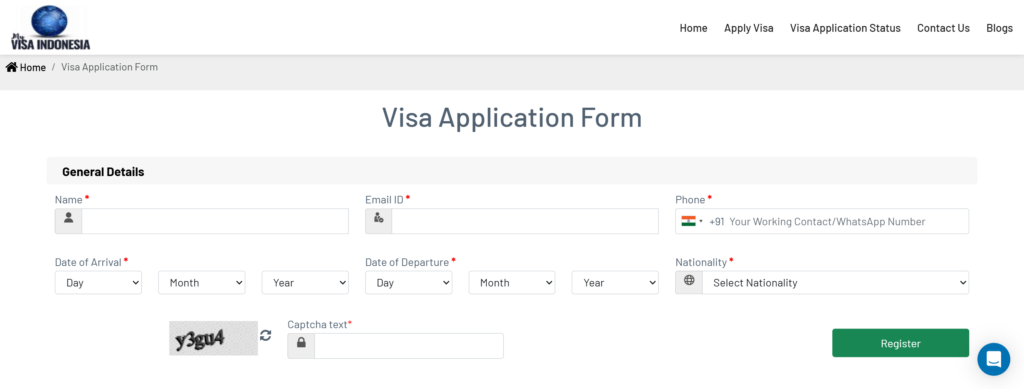
- Start Your Application: Log in and click “Apply.” You’ll be guided to select the type of visa you want. For most tourists, this will be the Electronic Visa on Arrival (e-VOA).
- Fill in the Details: This is where you’ll enter your passport information, your travel dates, your accommodation address in Indonesia, and other personal data. Double-check everything for typos. Your name must match your passport exactly.
- Upload Your Documents: Now, you’ll upload the scanned copies of your passport, your digital photo, and any other required documents from the checklist.
- Make the Payment: You’ll be directed to a secure payment gateway. Pay the visa fee using your Visa, Mastercard, or JCB card.
- Wait for Approval: After payment, your application will be processed. You will receive an email confirmation.
- Receive Your e-Visa: Once approved, your e-Visa (a document with a QR code) will be sent to your email.
How Long Will It Take Indonesia e-Visa?
Indonesia offers three flexible processing options to suit every traveler’s schedule and urgency. Whether you’re planning your trip in advance or need a quick turnaround, you can choose the timeline that best fits your travel plans.
Processing Options and Estimated Delivery Times
| Processing Type | Estimated Approval Time |
| Normal Processing | 4 – 7 Working Days |
| Rush Processing | 3 – 5 Working Days |
| Super Rush Processing | 2 – 4 Working Days |
Each option provides the same secure application process. The only difference is how quickly your visa is reviewed and approved.
The Normal Processing option is ideal for travelers who plan ahead, while Rush and Super Rush Processing are perfect for those who need their Indonesia eVisa approved as soon as possible.
Common Mistakes to Avoid (And How to Get Your Indonesia e-Visa Application Approved)
Want to ensure your application sails through? Avoid these common pitfalls:
- Passport Validity: The reason for rejection. Double-check that your passport has at least six months of validity from your arrival date.
- Blurry Scans: If the immigration officer can’t read your passport scan, your application will be delayed or denied. Make sure it’s a high-quality, clear, and uncropped image.
- Incorrect Photo: Don’t upload a selfie. It must be a passport-style photo with a white background.
- Name Mismatch: Your name on the application must be identical to the name on your passport.
You’re Approved! What to Do Next (The Pre-Arrival Checklist)
Congratulations! Your e-Visa is in your inbox. You’re almost ready for Bali. Here are your final two steps:


- Print & Save Your e-Visa: Print a hard copy of your approved e-Visa and keep it with your passport. Also, save a PDF copy on your phone. You will need to present this at immigration.
- Fill Out Your Customs Declaration: This is a mandatory step for all travellers. Within 3 days (72 hours) of your departure, you must fill out the Electronic Customs Declaration (e-CD).
- Fill in your details and your baggage information.
- You will receive a QR code. Screenshot this or save it. You will show this QR code to customs after you collect your luggage at the Indonesian airport.
Your Indonesia e-Visa FAQs (Quick Answers)
- Can I still get a regular Visa on Arrival at the airport?
Yes, you can. You can still queue up, fill out the form, and pay at the VOA counter upon arrival. The e-VOA just saves you that time and hassle.
- Do my children or infants need a separate e-Visa?
Yes. Every individual, regardless of age, must have their own visa. You can apply for them using your same account.
- What happens if I overstay my visa?
Don’t do it! The penalty for overstaying is severe: IDR 1,000,000 (around ₹5,400) per day.
Final Thoughts: Your Indonesian Adventure Awaits
Applying for an Indonesian e-Visa from India is genuinely one of the most straightforward online visa processes I’ve encountered. By following these steps, and preparing your documents, you’ll have your visa in hand in no time.
So go ahead, book those tickets, and get ready to immerse yourself in the incredible beauty and hospitality of Indonesia. Your dream trip is waiting!