Dreaming of the pristine white-sand beaches of Boracay, the stunning limestone cliffs of El Nido, or the vibrant culture of Manila? The Philippines, an archipelago of over 7,000 islands, is a dream destination for many Indian travelers. And now, thanks to the new e-Visa system, planning your trip has become more straightforward than ever.

This comprehensive guide will walk you through the entire process of applying for a Philippines e-Visa from India. We’ll cover the requirements, the step-by-step application, the fees, and crucial tips to ensure your application is successful, helping you get one step closer to your tropical getaway.
What is the Philippines e-Visa for Indian Citizens?
The Philippines e-Visa is an official electronic travel authorization that allows Indian nationals to apply for a 9(a) Temporary Visitor’s Visa online. This visa covers travel for tourism, leisure, business meetings, or brief medical treatment.

Instead of visiting an embassy or consulate for a traditional paper visa, you can complete the entire process from the comfort of your home. The approved e-Visa is a digital document sent to your email, which you must present to immigration authorities upon arrival.
Big News for Some Travelers: The 14-Day Visa-Free Entry
Before you jump into the application, check if you even need an e-Visa! Indian passport holders who possess a valid and current American (US), Japanese, Australian, Canadian, Schengen, Singapore, or United Kingdom (AJACSSUK) visa or residence permit can enter the Philippines visa-free for up to 14 days.

If you qualify for this, you simply need to present your valid passport and your valid AJACSSUK visa at immigration. If you plan to stay longer than 14 days or do not hold one of these visas, you must apply for the e-Visa.
What documents are required for a Philippine visa?
Preparation is key for a smooth application. Before you start, gather the following documents required for Philippine visa and have clear, digital copies (PDF or JPG) ready for upload:

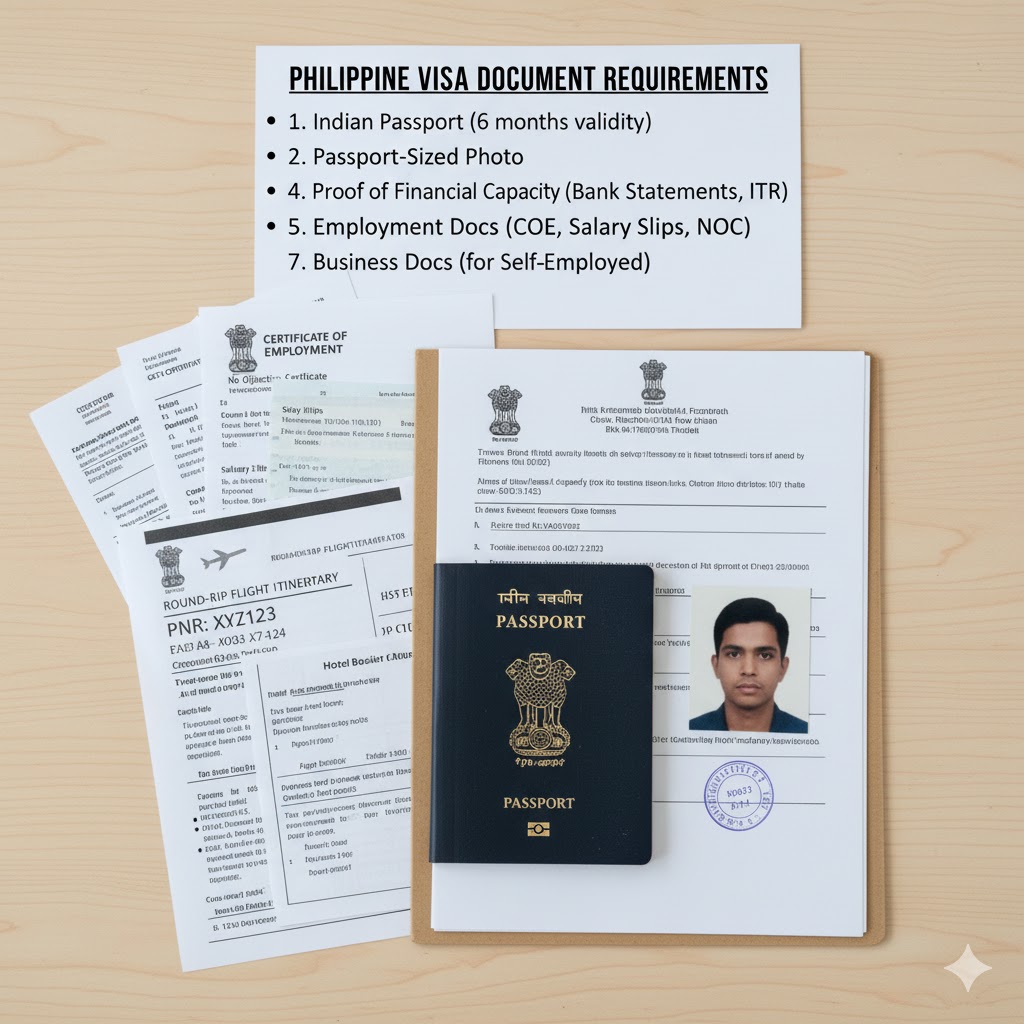
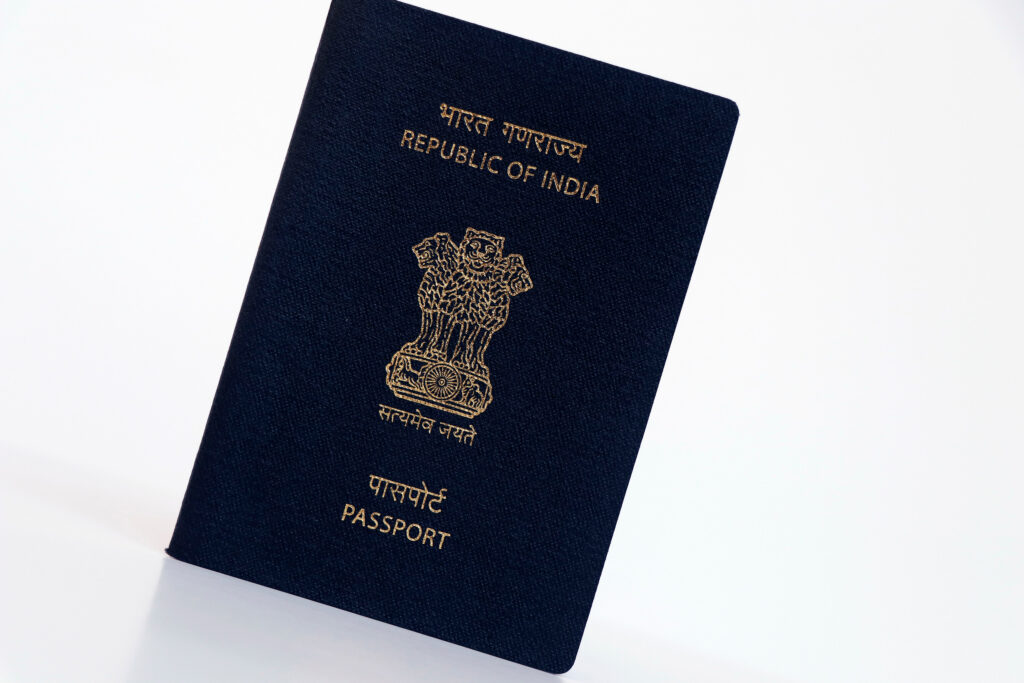
- Indian Passport: Must be valid for at least six (6) months beyond your intended departure date from the Philippines. You will need a clear scan of your passport’s bio-data page.
- Passport-Sized Photograph: A recent (taken within the last 6 months) color photo with a plain white background, adhering to ICAO (International Civil Aviation Organization) standards.
- Proof of Financial Capacity: This is crucial. You need to show you can support yourself during your stay. Prepare:
- Bank Statements: Original statements for the last 6 months, stamped by the bank. A balance of at least ₹1,00,000 is often recommended as a safe benchmark.
- Income Tax Returns (ITR): Copies for the last 2-3 years.
- Flight Itinerary: Confirmed round-trip or onward flight tickets. A booking reservation is sufficient.
- Accommodation Proof: Confirmed hotel bookings or a letter of invitation from your host in the Philippines, along with their passport/ID copy.
- For Salaried Employees:
- A Certificate of Employment (COE) on company letterhead stating your position, salary, and date of joining.
- Recent 3-month salary slips.
- A “No Objection Certificate” (NOC) or approved leave letter.
- For Self-Employed Applicants:
- Business registration documents (e.g., GST certificate, Partnership Deed).
- Company bank statements for the last 6 months.
- Company ITRs.
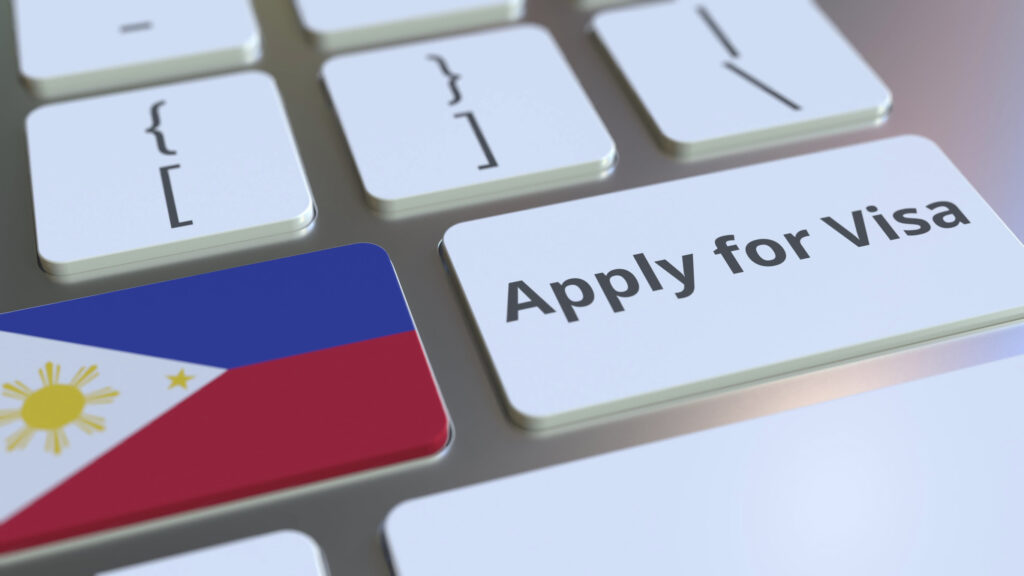
Can Indians apply for an e-Visa for the Philippines?
Ready with your documents? Let’s begin the Philippines visa application:-


Step 1: Complete Your Profile and Application Form fill out the online application form. This will include:
- Personal Information: Your full name, date of birth, address, etc.
- Passport Details: Passport number, issue date, and expiry date.
- Travel Details: Your purpose of visit (e.g., tourism), intended dates of travel, and address in the Philippines (your hotel address).
- Select the Correct Embassy: You will be asked to select the Philippine Embassy or Consulate that has jurisdiction over your state of residence in India (e.g., New Delhi, Mumbai, Chennai).
Step 2: Upload Your Documents This is where your prepared digital copies come in. Carefully upload each required document in the specified format and size. Ensure all scans are clear and legible to avoid delays.
Step 3: Review and Submit Double-check every single piece of information you’ve entered. A simple typo in your passport number or birth date can lead to rejection. Once you are certain everything is correct, submit your application.
Step 4: Pay the Philippines e-Visa Fee After submission, you will be directed to pay the visa fee. The payment can typically be made via online bank transfer or other available electronic payment methods. Remember, the visa fee is non-refundable, even if your application is denied.
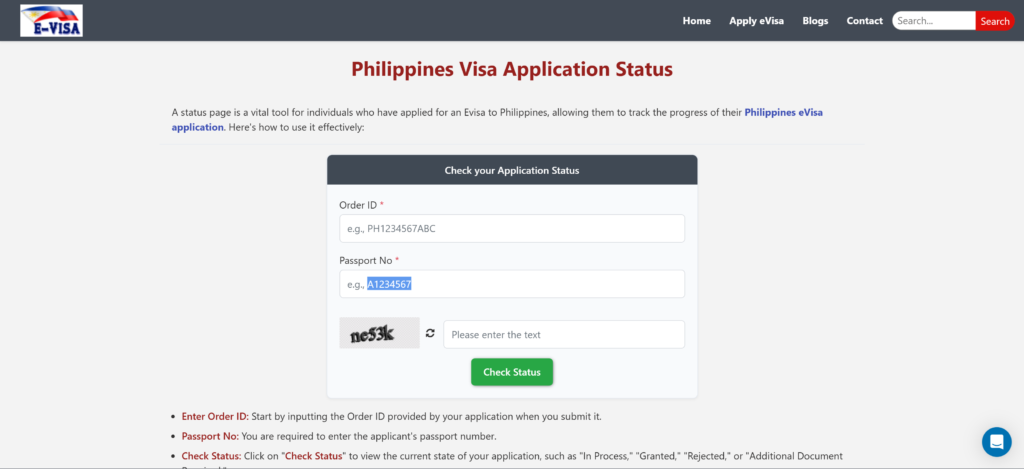
How long does it take to get a Philippine e-Visa?
Once you have paid, your application status will change to “Processing.”
- Standard Processing Time: The typical processing time for a Philippines e-Visa is 7 to 12 working days.
- Tracking: You can track the status of your application by logging into your e-Visa portal.
- Possible Interview: In some cases, the Embassy may request additional documents or schedule a brief online or in-person interview. This is not standard but can happen.
Success! Receiving Your Approved Philippine e-Visa
You will be notified via email once your visa is approved. You can check the Philippines Visa Application Status and download the e-Visa document (usually a PDF).

This is not a sticker in your passport. You must print a clear color copy of this e-Visa document and keep it with your passport.
The Final Step: Register on e-Travel (Mandatory)
This is a critical final step that many travelers miss. Having an e-Visa is not enough to board your flight.
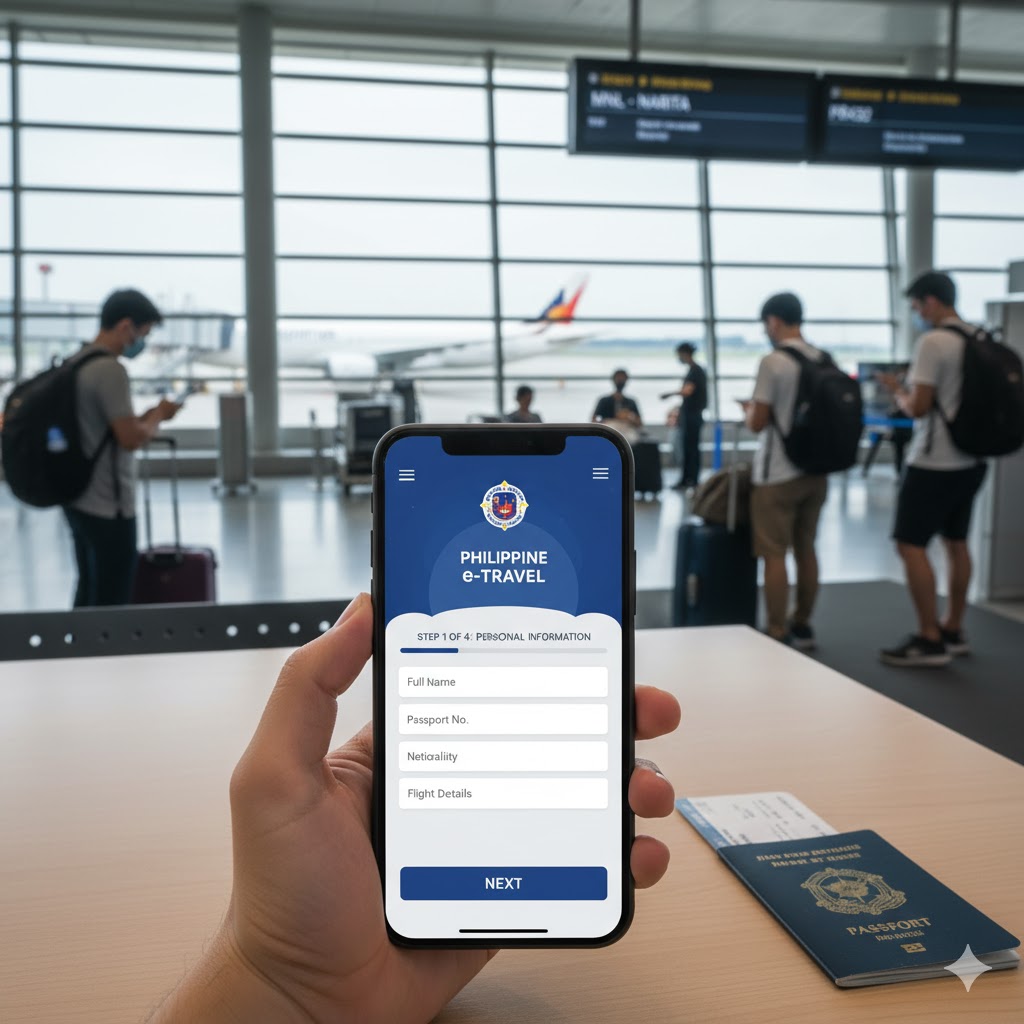
All travelers entering the Philippines (including Filipinos) must register on the Philippine One-Stop Electronic Travel Declaration System (e-Travel).
- When: Within 72 hours before your flight to the Philippines.
- What: You will fill out your travel details, accommodation, and a health declaration.
- Result: Upon completion, you will receive a QR code. You must present this QR code (either printed or on your phone) to the airline at check-in and to immigration upon arrival.
Top 5 Tips for a Successful Philippine e-Visa Application
- Apply in Advance: While the processing time is 7-12 days, always apply at least 3-4 weeks before your travel date to account for any potential delays or requests for additional documents.
- Check Your Jurisdiction: Submitting your application to the wrong embassy (e.g., applying to Mumbai if you live in Delhi) can lead to automatic cancellation.
- Honesty is the Best Policy: Be truthful about your purpose of visit and financial standing. Discrepancies between your documents and your application can lead to rejection.
- Clear Scans are Non-Negotiable: A blurry photo or an unreadable bank statement is the fastest way to get your application delayed or denied.
- Book Flights After Visa (or Get Refundable Tickets): It’s always safer to have your visa approved before paying for expensive, non-refundable flights.
Frequently Asked Questions (FAQs)
Q: Is the Philippines e-Visa an “on-arrival” visa?
A: No. The Philippines does not offer a visa on arrival for Indian passport holders (unless you qualify for the 14-day visa-free entry with an AJACSSUK visa). You must apply for and receive your e-Visa before you travel.
Q: Can I extend my 9(a) e-Visa in the Philippines?
A: No. The official e-Visa guidelines state that e-Visas are typically non-extendible and non-convertible. You must depart the country before your visa expires.
Q: My e-Visa application was rejected. Can I get a refund?
A: Unfortunately, all visa fees are non-refundable, regardless of the application’s outcome.
Q: Do I need travel insurance for the Philippines?
A: While it may not be a mandatory requirement for the e-Visa, it is highly recommended. Travel insurance that covers medical emergencies, trip cancellations, and lost baggage is essential for peace of mind.
Applying for your Philippines e-Visa is a straightforward process when you’re prepared. By following this guide and carefully organizing your documents, you’ll be well on your way to exploring the incredible beauty and warm hospitality of the Philippines. Happy travels!